How to Make a DIY Gallon Jug Greenhouse
There are many ways to make your own DIY Greenhouse! Often you can find things around the house that you can use to help give your seeds the desired greenhouse effect.
I use gallon jugs recycled from milk jugs or lemonade jugs. Not only do these make great containers for your seeds but it also creates a lid for easy watering access as well as keeping your seedlings warm.
DISCLOSURE: This post may contain affiliate links, which means we may receive a commission if you click a link and purchase something at no extra cost to you. Please check out our Disclosure Policy for more details.
Collect your Containers
DIY Greenhouses can be used from many items you have laying around. Whether it be from these gallon jugs or 2-liter bottles or reused containers from having Chinese food. Many times, as long as it’s a clear or white container that it can allow sunlight through and can hold in some dirt, you should be good!
I have chosen my gallon jugs for this greenhouse. I tried them out last year and have absolutely fallen in love with them. It made the whole seed starting process an easy task.

Check out our post on Seed Starting for Beginners!

Once you start collecting your jugs, be sure to rinse them out thoroughly, especially if you are using milk jugs. Milk can make them stinky especially if they have been sitting around for a bit waiting to be used. Otherwise, gallon jugs used from iced tea or lemonade can be sticky.
Cutting your Jugs for DIY Greenhouse
First thing you will want to do is poke holes on the bottom of the jugs to allow for proper drainage. When I first made these, this was something I realized I had missed doing after a couple of rainstorms came through the area. Everything was completely waterlogged.
To cut up your jugs, I used an ordinary kitchen scissors, preferably a larger pair so that it goes smoother for you.
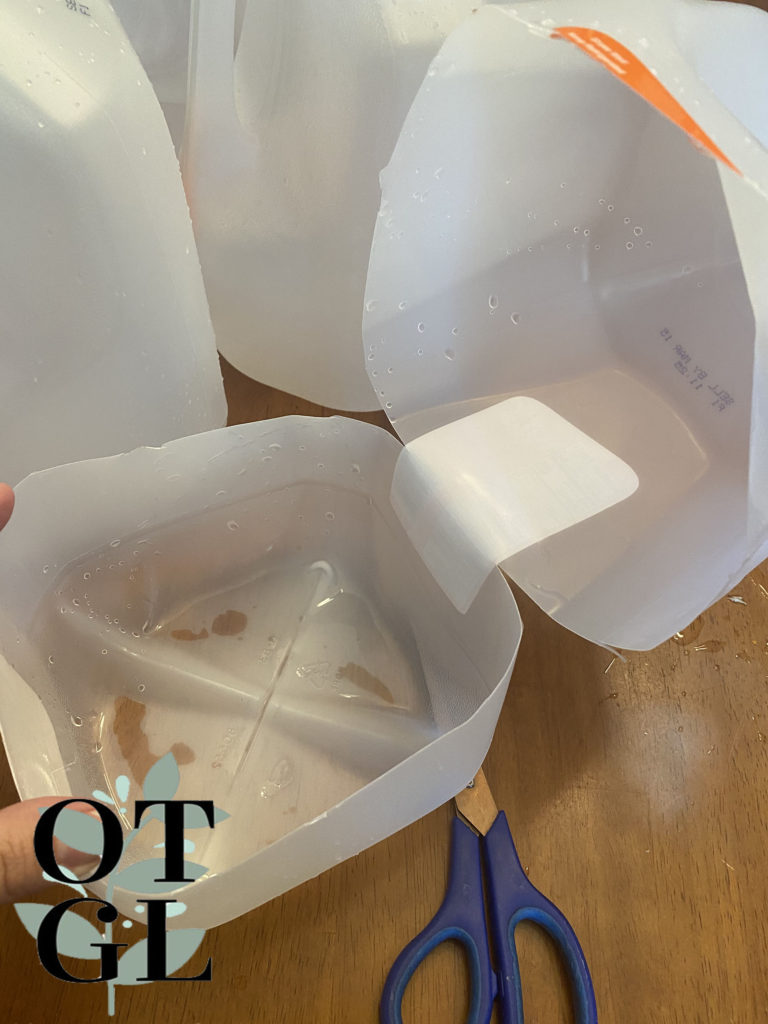
I cut horizontally right below the handle you can mark a line with a sharpie first if you prefer, leaving about 2-3 inches on the bottom, so that it allows room for root growth. However, I do not cut around the entire jug.
I will leave once side of the jug, untouched. This allows the jug to “hinge” and allow for opening and closing. The jug will never line back up for full closure, but that is okay!

Garden Stakes 12/pack
Time to Get Dirty
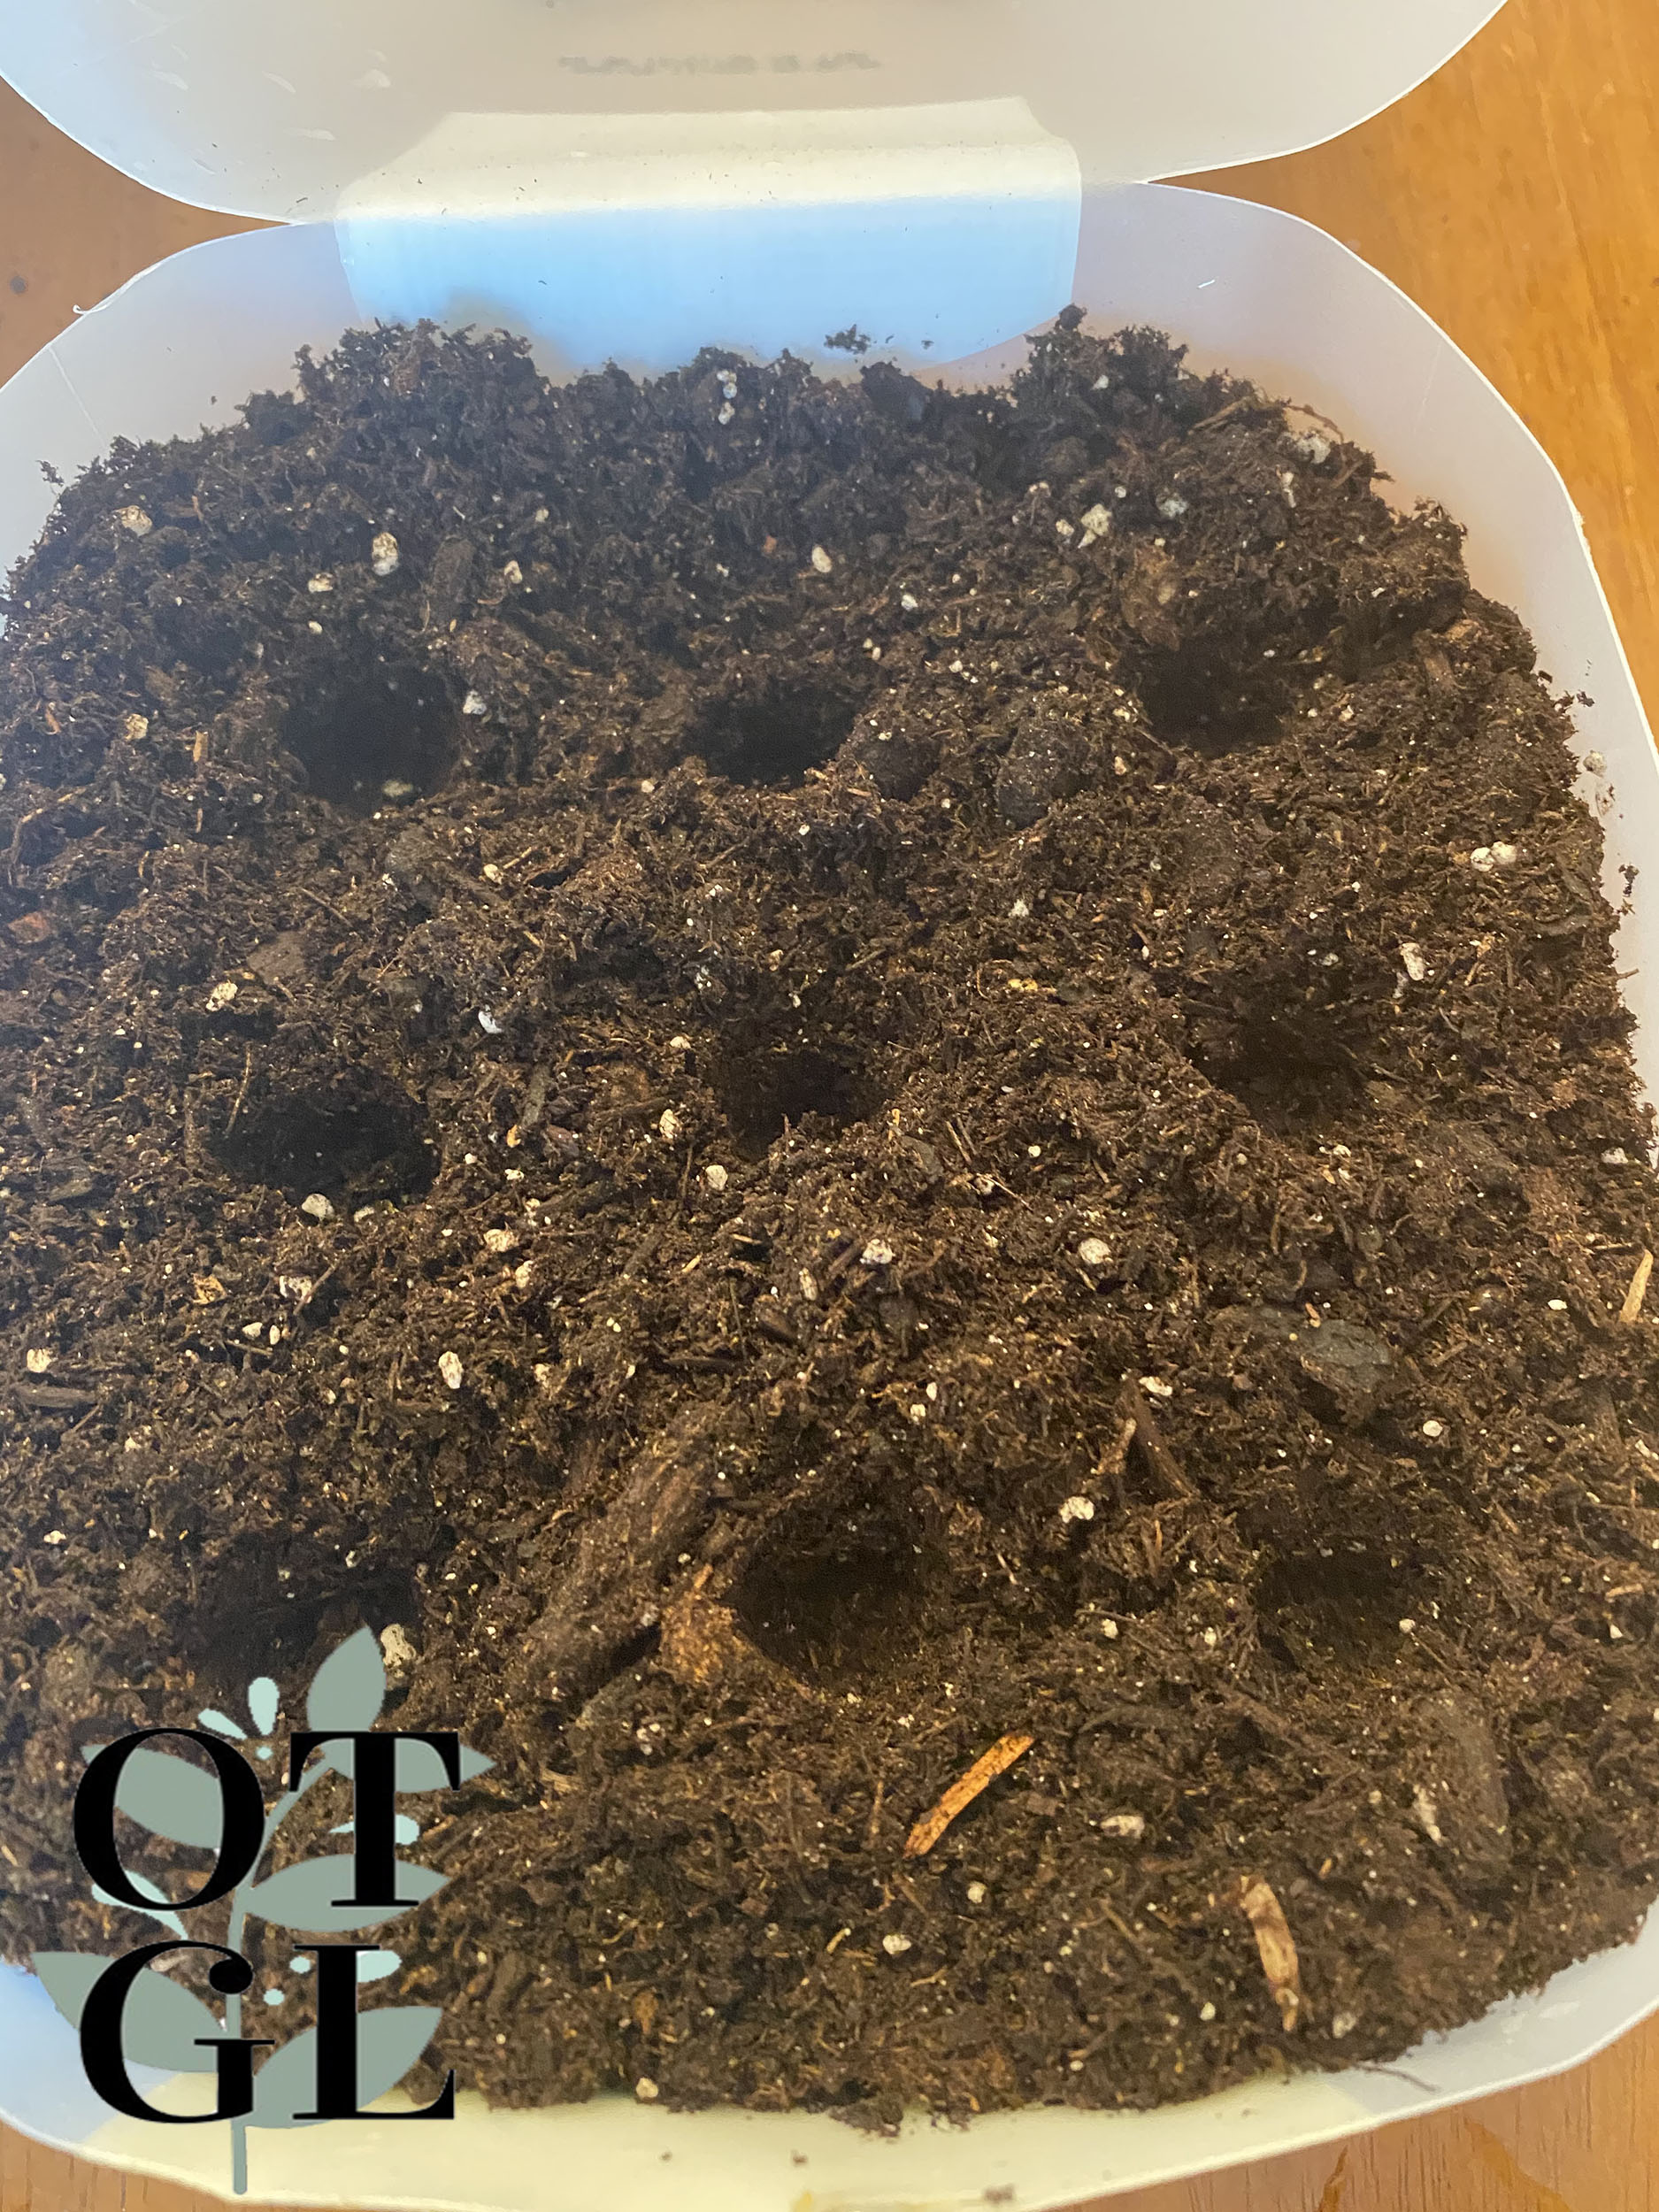
Once your jugs have all the appropriate holes and cuts made. It is time to fill the bottom layer with your soil of choice. We always use Miracle Gro soils for our seed starting. They offer many different kinds for all of your gardening needs! We always have success with their soils!
Once your dirt is in your containers, I will use my pinky finger to poke holes into the dirt so that I can plant the seeds. Most of the time I only did about 9 holes per container. This allows the seed room to grow.

Plant Seeds in your DIY Greenhouse
Now that you are all set, you can plant the seeds of your choosing into your new DIY greenhouse! Once you are done, you can place them outside in a nice sunny spot or you can keep them in the windowsill for now if it is still too cold outside!
For more DIY greenhouse ideas click here!


Pollinator Garden Flower Mix Seeds

Tina
Single mother of two from eastern Pennsylvania, USA. Working a full time job while enjoying all my favorite hobbies.